
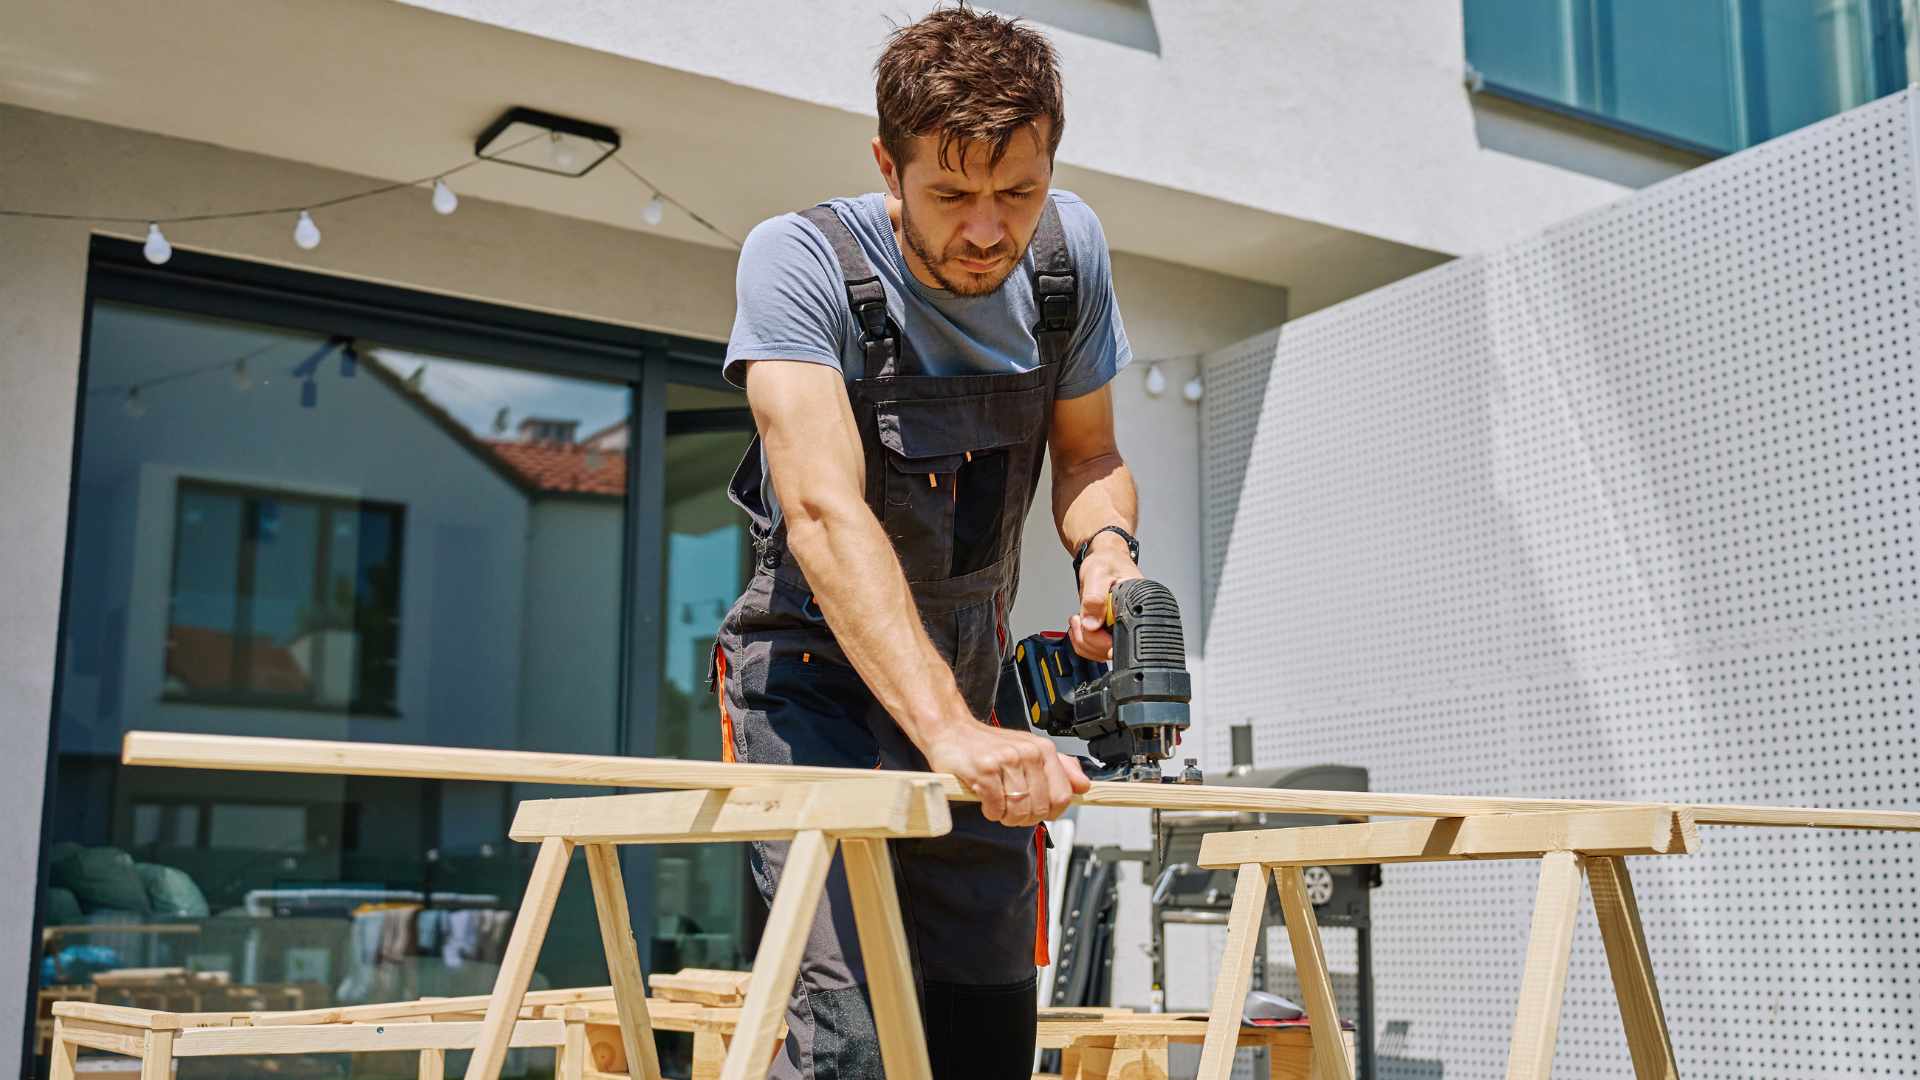

Upcycling allows you to transform old or unused items into something useful and attractive with minimal effort. The best DIY upcycling projects for beginners focus on simple techniques, accessible materials, and quick results. These projects require basic tools and skills, making them perfect for anyone new to crafting.
Starting with easy projects like repurposing jars into storage containers or turning old furniture into statement pieces can build confidence. Upcycling not only saves money but also reduces waste, offering a practical and creative way to refresh your space.
Getting Started with DIY Upcycling
To begin upcycling, having the right tools, selecting suitable materials, and practicing safety are essential. These factors influence project success and ease of work.
Essential Tools for Beginners
Basic tools include a pair of sharp scissors, a utility knife, and a measuring tape. These help with cutting and measuring materials precisely.
A hot glue gun is useful for quick adhesion, while sandpaper smooths rough edges on wood or metal. A small set of screwdrivers and pliers can assist with disassembly and reassembly.
Consider a paintbrush and non-toxic paint for finishing touches. Starting with these tools keeps costs low but covers most needs.
Choosing Reusable Materials
Opt for sturdy, clean materials such as old furniture parts, textiles, or glass jars. Avoid items with mold or extensive damage.
Check for non-toxic, natural materials when possible, which are easier to work with and safer indoors. Avoid plastics that may release fumes when cut or painted.
Sources include thrift stores, clearance sections, and discarded household items. Clean all materials before use to improve adhesion and longevity.
Safety Tips for Upcycling Projects
Wear protective gloves to prevent cuts and splinters. Safety goggles are essential when sanding or cutting.
Work in a well-ventilated area, especially when using adhesives or paint, to avoid inhaling fumes. Keep tools out of reach of children.
Read instruction labels on tools and materials carefully. Store sharp tools properly to reduce accidents during and after projects.
Upcycling Everyday Household Items
Many common household items can be given new life with simple tools and creativity. Practical uses often improve their function or aesthetic while reducing waste.
Transforming Glass Jars and Bottles
Glass jars and bottles are sturdy and versatile materials for upcycling. Clean them thoroughly and remove labels to start. They can be painted or decorated with washi tape, twine, or chalkboard paint for style.
Uses include:
- Storage for spices, craft supplies, or hardware.
- DIY candle holders or lanterns by adding a tea light or fairy lights.
- Planters for small indoor plants or succulents.
For a functional twist, add lids with holes to make shaker containers or bird feeders. Glass is heat-resistant and reusable, making it ideal for functional household items.
Reusing Old Clothing
Old clothing offers fabric that can be repurposed easily without advanced sewing skills. Cut worn shirts or jeans into strips for braided rugs or coasters. T-shirts, in particular, work well for no-sew projects like tote bags or cushion covers.
Tips for beginners:
- Use fabric glue or iron-on adhesive if sewing isn’t an option.
- Patch holes to extend fabric usability.
- Combine multiple garments for patchwork designs.
Avoid fabrics that are too worn or stained heavily; opt for cotton or denim for durability. This reduces textile waste and creates customized household accessories.
Repurposing Pallets and Wood Scraps
Wood pallets and scraps are excellent raw materials for functional furniture or decor. Sand down rough surfaces and paint or stain for a polished finish. Pallets often have a sturdy base ideal for shelves, planters, or coffee tables.
Wood scraps can be combined into smaller projects like:
- Picture frames
- Key holders
- Coasters
Use screws or wood glue for assembly. These projects require basic tools such as a saw, drill, and screwdriver. Repurposing wood reduces the need for new materials and offers a rustic or industrial aesthetic.
Creative Furniture Upcycling Ideas
Transforming old furniture can add character and function without high costs. This section explores easy ways to refresh chairs and tables, plus practical shelving made from repurposed items.
Simple Chair and Table Makeovers
Start with sanding down surfaces to remove old paint or varnish. A fresh coat of paint in bold or muted colors can change the style completely. For added texture, consider stenciling patterns or applying chalk paint for a matte, vintage look.
Replacing or reupholstering cushions on chairs gives comfort and a personalized touch. For tables, swapping out old knobs or handles on drawers provides subtle detail upgrades. Applying a protective sealant after painting helps durability, especially for frequently used furniture.
DIY Shelving from Repurposed Materials
Shelves made from reclaimed wood, crates, or metal pipes offer unique storage solutions. Secure wooden crates horizontally on walls to create box-like shelving. Sand and stain the wood to prevent splinters and enhance its appearance.
Metal pipes combined with wooden planks form sturdy industrial-style shelves. Screw the pipes into wall studs for stability. Adjust the height and spacing of shelves to fit your needs.
Tips for success:
| Step | Notes |
| Measure available space | Avoid overcrowding |
| Choose durable materials | Wood and metal are ideal for strength |
| Finish edges and surfaces | Prevent injury and improve look |
Decor Upcycling Projects for Beginners
Transforming old items into useful decor can refresh your space without spending much money. Simple projects often create eye-catching pieces that fit any style. These ideas require minimal tools and materials, making them accessible for anyone starting out.
Wall Art from Recycled Items
Wall art made from recycled materials offers a unique, eco-friendly option to decorate blank spaces. Common materials include old magazines, wine corks, fabric scraps, or reclaimed wood. For beginners, creating a collage or geometric patterns with magazine clippings on a canvas or frame is straightforward.
To start, gather flat materials and arrange them in a visually pleasing pattern. Use glue or a mod podge to fix the pieces securely. Another option is framing small objects like bottle caps or broken jewelry for textured, three-dimensional wall art.
This method not only repurposes waste but also produces personalized wall decor with minimal cost.
Upcycled Planters and Vases
Old containers like tin cans, glass jars, or even worn-out shoes can be converted into planters or vases. The key is cleaning and preparing the container properly to avoid leaks or damage.
For metal cans, remove sharp edges and add drainage holes if used for plants. Glass jars can be painted or wrapped with rope for a rustic look. Shoes or boots make quirky, fun planters that double as conversation pieces.
Using natural materials such as twine, fabric, or paint enhances the appearance without requiring specialized skills. This approach turns everyday objects into focal decor made for living plants or flowers.
Homemade Storage Solutions
Creating storage from repurposed items combines utility and style. Wooden crates turned into shelves, wicker baskets reinforced for drawer use, or painted tin boxes can serve as affordable storage options.
Start by selecting sturdy items that match the desired storage purpose. Sanding, painting, or lining these objects improves both durability and aesthetic appeal. Adding hooks or labels can increase organizational efficiency.
Incorporating clear jars with lids or old suitcases also provides decorative ways to store small objects while complementing room decor. This method maximizes the function of materials that might otherwise be discarded.
Sustainable Upcycling Tips
Choosing the right materials and planning to reduce waste are essential when starting upcycling projects. Efficient resource use enhances environmental benefits and can improve the outcome of your creations.
Sourcing Materials Responsibly
Look for materials that would otherwise be discarded. Thrift stores, flea markets, and yard sales offer a wide variety of items suitable for upcycling.
Avoid buying new items just to upcycle, as this contradicts the sustainable purpose. Instead, prioritize things like old furniture, textiles, glass jars, and pallets.
Check online platforms like Freecycle or local community groups for free materials. This supports reuse and keeps items out of landfills.
Keep safety in mind by inspecting materials for damage or toxic coatings before use.
Minimizing Waste in Projects
Plan your project carefully to maximize the use of each material piece. Measure twice before cutting to avoid unnecessary scraps.
Repurpose leftover bits creatively, turning small fabric pieces into coasters or wood scraps into shelves.
Use tools appropriate for the materials to reduce mistakes and material damage.
Document your waste reduction strategies to improve with each project, tracking what can be reused or recycled.
Tips for waste reduction:
| Strategy | Example |
| Careful measuring | Cut fabrics precisely |
| Creative reuse | Small wood scraps for hooks |
| Material-specific tools | Use fabric scissors for cloth |
Building Your Upcycling Skills
Starting with simple projects helps build confidence and skill. Focus first on basic techniques like sanding, painting, and gluing. These foundational skills are essential for most upcycling tasks.
Practice safety by using protective gear such as gloves and masks. Understanding tool handling is key to avoiding accidents and ensuring quality work. Gradually work with more complex tools as your comfort level grows.
Consistent practice improves problem-solving abilities. Each project presents unique challenges, so learning to adapt materials and methods is important. Keeping a project journal can track progress and ideas.
Here’s a quick skill-building checklist:
| Skill | Description | Why It Matters |
| Sanding | Smoothing surfaces | Prepares items for painting |
| Painting | Applying color or finish | Enhances appearance |
| Cutting | Shaping materials | Customizes pieces |
| Assembly | Joining parts | Builds structure |
Try small projects like transforming old jars into lanterns or repainting wooden stools. These allow you to apply skills without needing extensive materials or time.
Online tutorials and local workshops offer guided practice. Watching or joining others can accelerate learning. Engage with communities for tips and feedback.
Troubleshooting and Common Mistakes
One common mistake in DIY upcycling is choosing the wrong materials. Some items may seem suitable, but do not hold up well to cutting, painting, or gluing. Always test a small area before starting your project.
Improper surface preparation can lead to poor adhesion or uneven finishes. Clean and sand surfaces thoroughly to ensure paint and glue stick properly. Skipping this step often causes peeling or chipping later.
Using the wrong type of glue or paint can also affect results. For example, wood glue won’t work well on metal or plastic, and water-based paints might not adhere to oily surfaces. Check material compatibility before buying supplies.
Overlooking safety precautions is another frequent error. Always wear gloves, masks, or goggles when sanding, painting, or using power tools. Ignoring safety increases the risk of injury and can harm your health.
| Common Mistake | Fix/Prevention |
| Wrong material choice | Test materials before starting |
| Poor surface preparation | Clean, sand, and prime surfaces |
| Incompatible adhesives | Use glue suitable for the material |
| Ignoring safety gear | Always wear appropriate protective gear |
Taking your time and thoroughly reading instructions improves success. Rushing often results in sloppy cuts, uneven paint, or collapsed structures. Patience and planning help avoid these pitfalls.
Showcasing and Sharing Your Projects
Displaying your upcycled creations is a key part of the DIY process. It allows you to take pride in your work and inspires others to try similar projects.
Consider creating a dedicated space at home for your projects. A simple shelf or a corner table can serve as a mini gallery. This makes it easy to enjoy your efforts daily.
Sharing online expands your reach. Use platforms like Instagram, Pinterest, or Facebook to post photos and descriptions. Consistent posting helps build an audience interested in DIY upcycling.
Here’s a quick checklist for sharing your projects effectively:
| Step | Action |
| Photograph | Use natural light, clear shots |
| Describe | Explain the materials and process |
| Hashtags | Use DIY, upcycling keywords |
| Engage | Reply to comments and questions |
Joining DIY groups and forums is also beneficial. You can get feedback, exchange ideas, and find support from fellow upcyclers.
Lastly, consider hosting or attending local craft fairs. Selling or displaying your items in person connects you with a community and can open opportunities for collaboration or sales.