Making a fabric upholstered bench is a practical and rewarding project that combines woodworking and sewing skills. The key to success is selecting the right materials and following precise steps to create a sturdy frame, comfortable padding, and neatly upholstered fabric.
This guide breaks down the process into clear, manageable actions from building the bench frame to attaching the fabric securely. Understanding these techniques will help you customize a bench that fits your style and space.
Whether you’re a beginner or have some DIY experience, this project is achievable with basic tools and materials. The result is a functional piece of furniture that suits your needs and tastes.
Materials and Tools Needed
Selecting the correct supplies and tools is crucial for a successful fabric upholstered bench project. You need durable fabric, precise tools, and a sturdy frame to create a functional and attractive piece.
Choosing the Right Fabric
Opt for upholstery-grade fabric designed to withstand wear and tear. Popular choices include canvas, twill, and microfiber, which balance durability and comfort. Look for fabrics with a rub count of at least 15,000 for moderate use.
Consider the color and pattern carefully; solid colors tend to hide stains better, while patterned fabrics can add visual interest. Additionally, check if the fabric has stain-resistant or easy-clean properties.
Buy 1.5 to 2 yards of fabric, depending on the bench size and pattern repeat. Don’t forget a matching or coordinating fabric for piping or trim if desired.
Essential Upholstery Tools
A reliable staple gun is indispensable for securing fabric to the bench frame. Use heavy-duty staples sized to match the thickness of your fabric and foam.
Other essentials include:
- Upholstery scissors or fabric shears for clean cutting.
- A rubber mallet for gentle frame adjustments.
- Measuring tape and chalk or fabric markers for precise cuts.
- Needle-nose pliers to remove old staples.
- Spray adhesive to hold foam in place.
Optional but useful are a sewing machine for fabric repairs and a webbing stretcher if adding webbing to the frame.
Bench Frame Materials
The frame must be solid wood or metal to support weight over time. Common woods include pine, oak, and plywood reinforced with corner blocks.
Check the frame for damage and reinforce joints with wood glue and screws if needed. If starting from scratch, purchase lumber cut to size or repurpose an existing bench frame.
Add high-density foam with a thickness of 2-4 inches for cushioning, depending on preferred comfort. Use batting to create a smooth, rounded surface beneath the fabric.
Planning Your Upholstered Bench
Deciding on the right design and dimensions is crucial before starting your project. Focus on matching style with function and ensuring precise material measurements to avoid waste or errors.
Selecting Bench Style and Size
Choose a bench style that suits your space and intended use. Common options include storage benches, backless benches, or benches with backs. Consider the environment: a dining bench usually measures 14-18 inches in height, while an entryway bench might be taller for comfortable seating.
Size affects both comfort and placement. Measure the area where the bench will sit to ensure it fits well without crowding. For example:
- Width: 36-60 inches for versatility
- Depth: 14-20 inches for comfortable seating
- Height: 16-20 inches, suitable for most purposes
Material choice for the frame impacts durability. Hardwood frames support heavier weights, while softwoods are easier to work with but less durable.
Measuring and Cutting Guidelines
Accurate measurements prevent fitting problems. Begin by measuring twice: the frame dimensions and fabric pieces required. Add extra fabric (about 3-5 inches per side) to account for stretching and stapling.
When cutting fabric:
- Use a rotary cutter or sharp fabric scissors
- Cut on a flat surface to maintain straight edges
- Label each piece to avoid confusion during assembly
For foam padding, cut slightly smaller than the bench seat base to avoid bulging. A template made from cardboard can help maintain consistent dimensions. Double-check the fabric grain direction for a professional look when upholstering.
Assembling the Bench Frame
Creating a strong and stable bench frame requires precision in both building the base and securely attaching the legs. Proper alignment and fastening techniques are essential to ensure durability and safety.
Building a Sturdy Base
Start by selecting solid wood pieces for the frame, ideally 1×4 or 1×6 lumber. Cut the side rails and end rails to the dimensions of your bench seat. Use wood glue on all joints before screwing them together to enhance strength.
Create a rectangular frame by fastening the side rails to the end rails using 2.5-inch wood screws, spacing screws evenly, typically 2-3 inches from each corner. Add a center support rail if the bench will exceed 36 inches in length to prevent sagging.
Confirm all corners are square by measuring diagonals; equal lengths indicate proper alignment. Sand any rough edges to prepare for upholstery and final assembly.
Attaching Bench Legs
Select legs that match your design and measure for precise placement under each frame corner. Mark leg positions to ensure symmetry and even weight distribution.
Attach legs using sturdy metal brackets or directly screw through the frame into the leg tops with 2.5-inch wood screws. Pre-drill holes to avoid splitting the wood. Use a clamp to hold the legs steady while fastening.
For extra stability, consider adding corner braces between the legs and frame. Check the bench for wobbling and tighten all screws if necessary before moving on to upholstering.
Cushion and Foam Preparation
Selecting the right foam and ensuring it fits the bench frame perfectly are critical steps. The foam’s density affects comfort and durability, while precise cutting guarantees a snug fit without gaps or lumps.
Choosing Upholstery Foam
Upholstery foam is available in various densities, ranging from low (1.5 lbs/ft³) to high (2.5 lbs/ft³ and above). For a bench, a medium to high-density foam—around 2 lbs/ft³—is ideal to balance softness and support. High-density foam retains shape longer and resists sagging.
Consider the foam thickness as well; 2 to 4 inches works well, depending on bench use and desired firmness. Use high-resilience (HR) foam for better longevity. Avoid low-density foams under 1.5 lbs/ft³ as they compress quickly and wear out faster.
Cutting Foam to Fit
Measure the bench seat height, width, and depth carefully before cutting. Use a sharp electric carving knife or an electric foam cutter to ensure clean, straight edges. Cutting on a flat surface with a cutting mat underneath prevents slips.
Cut the foam slightly larger—about 1/8 inch bigger than the seat base—to allow for fabric stretch and a tighter fit. Trim excess foam gradually rather than removing too much at once. Test the fit by placing the foam on the bench, adjusting edges as needed for a flush, secure cushion.
Upholstering the Bench Top
The bench top requires smooth padding for comfort and fabric that is pulled tight to avoid wrinkles. Securing each layer firmly ensures a clean, professional appearance that lasts through regular use.
Attaching Batting and Padding
Start by cutting batting to the exact size of the bench top. Lay it flat over the surface, making sure there are no wrinkles or folds. Use a staple gun to attach the batting on the bottom side of the wood, beginning at the center of one edge and working outwards.
Next, place the foam padding on top of the batting. Cut the foam slightly larger than the bench top to allow for compression. Secure the foam with spray adhesive or staples, again starting at the center and moving toward the edges. The padding must be firm but comfortable.
Wrapping and Securing Fabric
Choose an upholstery fabric that is durable and complements your decor. Cut the fabric with an extra 3-4 inches on all sides. Center the fabric over the padded bench.
Pull the fabric taut and begin securing it underneath the bench using a staple gun. Start from the middle of one side and move toward the corners to prevent bunching. On corners, fold the fabric neatly like wrapping a gift to avoid excess bulk.
Trimming and Finishing Edges
After securing the fabric, trim any excess material close to the staples, about half an inch away, to avoid fraying. Use fabric scissors for clean cuts.
Check the underside for any loose staples or wrinkles and adjust as needed. Optionally, attach a dust cover fabric on the bottom to protect the staples and give a finished look. Secure the dust cover with staples or a staple gun.
Adding Decorative Elements
Decorative features can enhance the style and sophistication of your upholstered bench. Careful selection and precise application of adornments will complement your fabric and overall design.
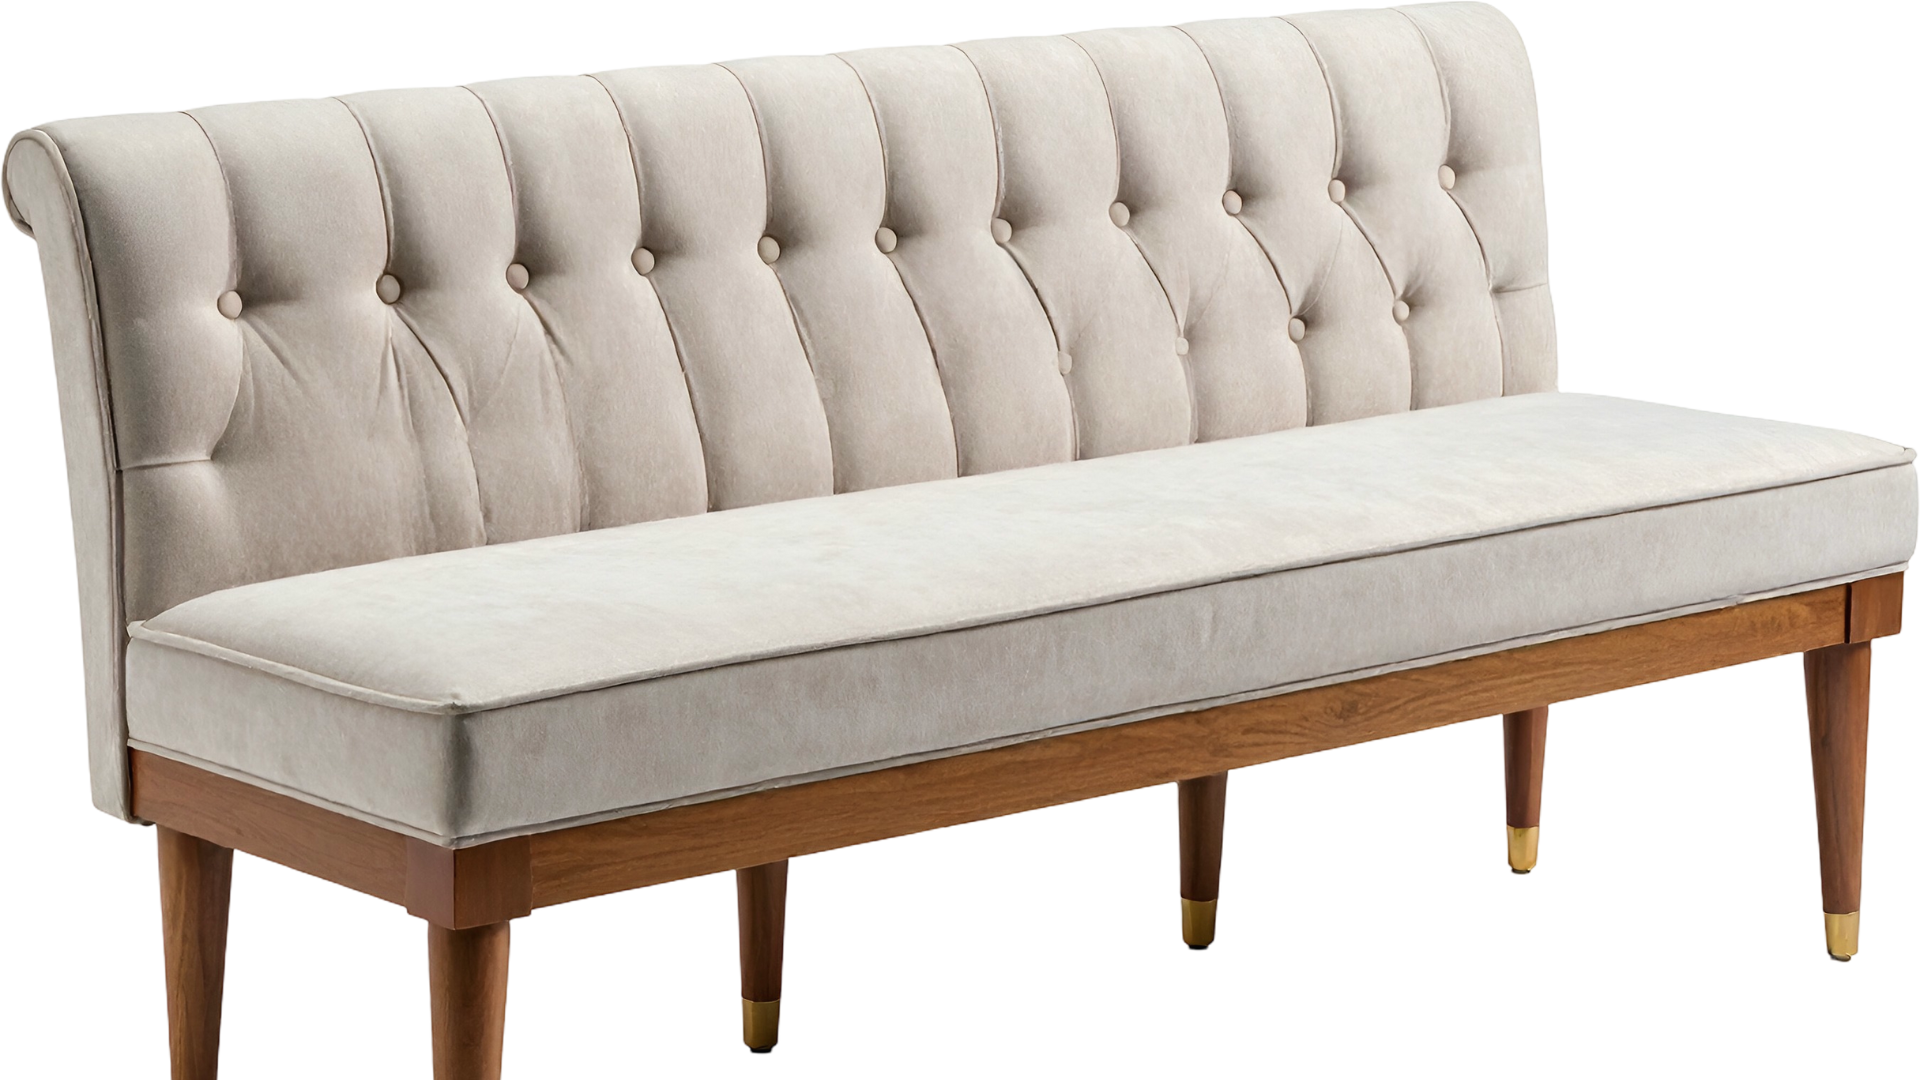
Installing Buttons or Tufting
Tufting adds depth and texture to the fabric surface. Begin by marking the exact button placement on the bench cushion, using a grid or measured pattern for symmetry.
Use a strong upholstery needle and thread designed for heavy fabrics, securing each button tightly from the front to the back of the cushion. Pull the thread firmly to create an indentation, but avoid damaging the foam underneath.
For uniform tufting, insert small washers or button covers on the back side to anchor the thread. This process balances tension and maintains tuft shape over time.
Adding Nailhead Trim
Nailhead trim introduces a classic or industrial accent to your bench edges. Select a trim color and style that contrasts or complements the fabric.
Start by measuring and marking evenly spaced points along the bench frame. Use a hammer and small nails or a pneumatic nailer for accuracy.
Apply consistent pressure and angle to ensure straight lines and a tight fit to the fabric. If uneven spaces occur, adjust nail placement before fully securing.
Nailhead trim adds durability where fabric meets frame, protecting edges while enhancing visual detail.
Final Assembly and Maintenance
Properly attaching the upholstered top to the bench frame ensures stability and durability. Regular care will keep the fabric fresh and the bench structurally sound over time.
Securing the Upholstered Top
Begin by aligning the upholstered top evenly with the bench frame. Use wood screws or bolts rated for furniture assembly to attach the seat securely to the base. Drill pilot holes in the frame to avoid splitting the wood.
For additional strength, apply wood glue between the top and frame before fastening. Use clamps to hold the pieces firmly while drying.
Check that the seat is flush and does not shift by testing with firm pressure. Reinforce corners where fabric or foam meets the frame, ensuring no gaps form.
Tips for Long-Term Care
Vacuum the fabric regularly using a brush attachment to remove dust and dirt particles. For stains, gently blot with a mild soap solution and avoid harsh chemicals that can damage the fiber.
Rotate the bench occasionally to minimize wear on one side. Tighten screws and bolts every six months to maintain stability. Avoid exposure to direct sunlight and high humidity to prevent fabric fading and wood warping.
Styling and Placement Ideas
Choosing the right spot and styling touches can elevate your fabric upholstered bench. Attention to how it fits with existing furniture and ways to refresh its look will expand its usefulness and appeal.
Integrating into Home Decor
Place the bench in entryways to offer a practical seating spot for putting on shoes. Match the bench fabric color with nearby rugs or curtains to create a cohesive look. Using neutral tones like beige or gray adds versatility across styles from modern to traditional.
In bedrooms, position the bench at the foot of the bed. This anchors the room visually without cluttering the floor space. If space allows, add a small throw pillow in a contrasting color or texture to balance the bench’s simplicity.
Living rooms benefit from benches as extra seating or a low table substitute. Placing it alongside a sofa or beneath a window maximizes space without overcrowding. For rooms with patterned walls or bold furniture, choose a solid color fabric to maintain visual balance.
Changing Looks With Accessories
Customize the bench appearance with easily changeable accents. A removable slipcover refreshes the fabric without reupholstering. Select covers in seasonal colors or patterns to quickly match holiday decor or room color shifts.
Add small cushions in various shapes—square, lumbar, or round—to introduce texture and depth. Mixing fabrics like velvet, linen, or leather can create a layered, tactile effect. Rotate or swap cushions regularly to keep the look dynamic.
Top the bench with a lightweight tray for holding drinks or books. This converts it into a multifunctional piece without permanent modifications. Consider trays in materials like wood or metal to complement the bench frame and room style.